Showing posts with label Tips and Ideas. Show all posts

August 30, 2013

Gift Wrap Organization


I finished my gift wrap organization station this week, and thought I'd share the idea with you.


I originally found the idea while searching on Pinterest, and came up with my own version. These two photos were my inspiration:

gift wrapping organized - great for a pantry.

Gift wrap organizer

The Container Store has a hanging over the door system, but it was almost $90 and I didn't want to spend that much. I used this four tiered closet organizer from Home Depot ($20) and paired it with these $3 hooks.


This style of hook should henceforth be referred to as drunk octopus hooks. See?

Drunk octopus wants to fight! 

Anyway. Bam. An easy, inexpensive alternative to stuffing all of my gift wrap into one of those long, under-the-bed storage bins. I (still) don't know how to use the drill, so Charlie hung them all on the back of the office door for me.


I used curtain ring clips in order to hang my wrapping paper. I suppose you could hang flattened paper boxes this way, too. I also used glass mason jars to hold ribbon.


Wrapping gifts is now much less of a pain. I can see exactly what we have, and I don't have to dig through a bin of tissue paper, ribbons, gift wrap, tape, and gift bags.
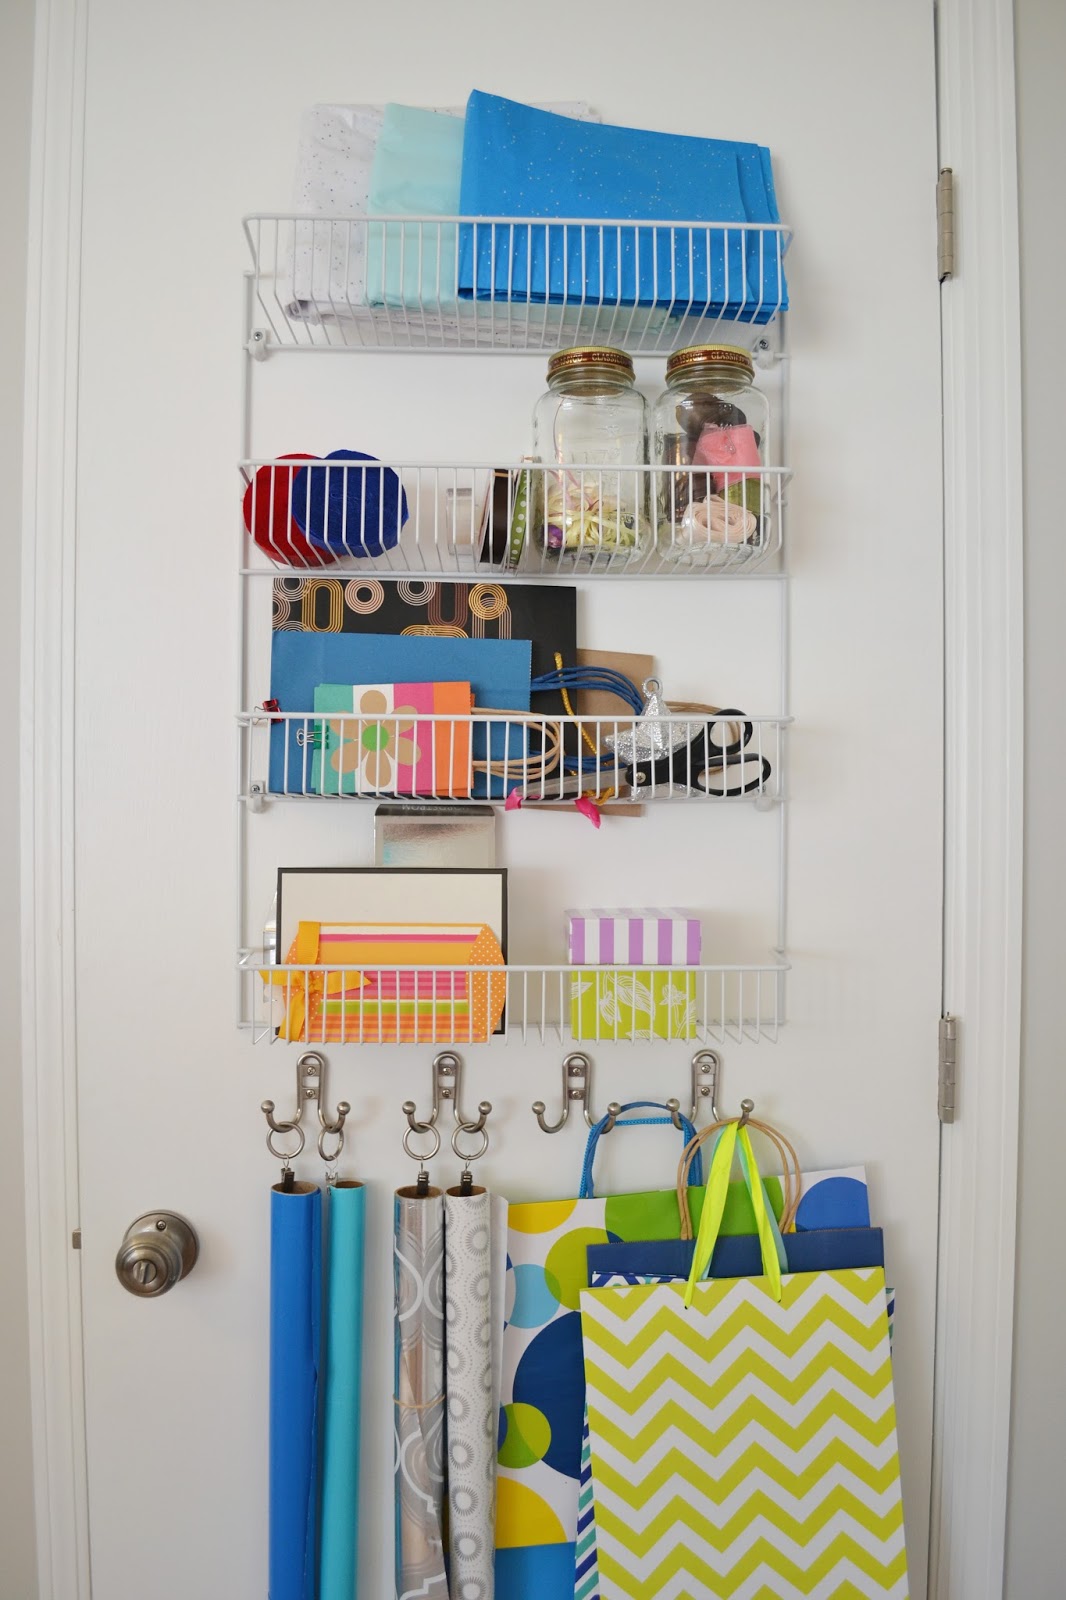

I love how slim the profile is. We always have the office door open, and you'd never even know anything was behind it.


February 5, 2013

Easy, Inexpensive Event Decor

A week and a half ago, I decorated for our church's anual Titus 2 Women's Mentee Coffee. It's an event with approximatly 120 in attendance, and a $150 budget for me to work with. Here's what I came up with this year:


I used a bunch of paper lanterns and hung them behind the main food table, instead of a centerpiece. I also used a grouping of different sized and colored lanterns as table centerpieces.


Real dishes would be nice, but not cost effective. Target had cute pink and white polka dot napkins, and I set the gold plates on the table to boost the color scheme instead of setting them on the food table. Here's the overall look:


I thought things turned out pretty cute. Hopefully I'll be able to reuse the lanterns for another event!


February 25, 2012

Have Your Plate and Hang it Too


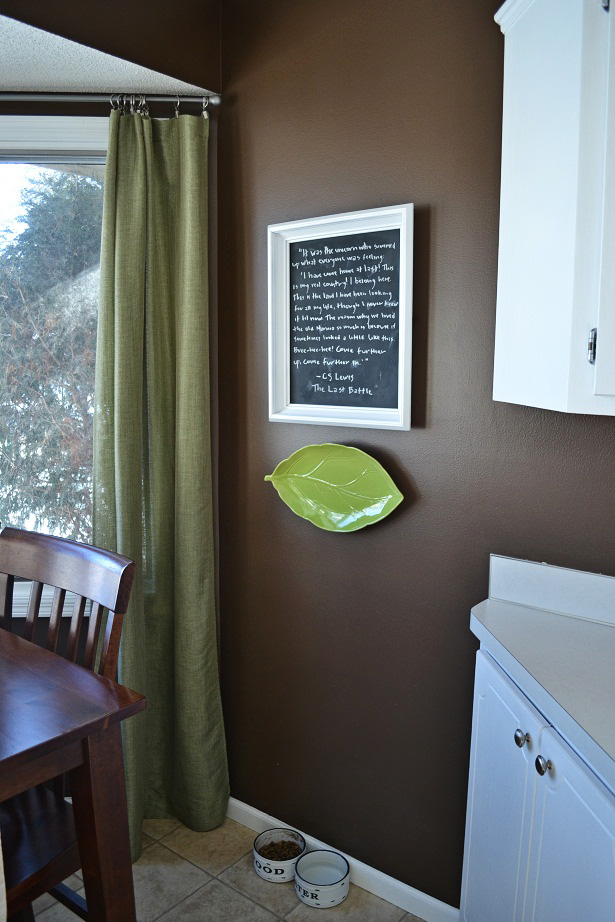
I want to share a quick tip with you. I've got this cute leaf platter that my sister in law bought us as a wedding gift, and wanted to hang it up on the wall without using any of those clunky metal plate holders. I ALSO still want to be able to use it for serving food . What's a girl to do? Enter these things:


They're really cheap, come in many different sizes, stick securely to your plate while still having the ability to come off without ruining anything, and mostly importantly, have a low profile. So I'm able to take my plate off the wall to use without anyone being the wiser that my plate hanging mechanisms are still in tact.

I'm sure you all loose sleep over this. But it's a neat little thing, and I wanted to share.


See? You'd never know there's anything there.


The platter has been hanging there since Tuesday, and the plate hangers are still sticking securely. I was half waiting for it to fall down and smash Leo's head while he eats, but I think we're in the clear.  :D

September 9, 2011

Quick Decor Idea


One of my favorite centerpieces consists of branches in a large vase. It's fast, easy, and cheap (if you have a tree or a snaggle bush, such as us). I've been hacking off large branches all summer and putting them in a two foot fall fluted vase on our dining room table. The best part is, when the branches die after about 10 days, I just hack off some more.

I used this idea for our church's Titus II Mentor Coffee (I'm in charge of decor this year- woohoo!). Here's one of the larger centerpieces for the registration table. Aren't the berries pretty?


I didn't realize that my camera was in some funky setting. Pardon the slightly washed out images.

Go hack yourself some branches!

April 11, 2011

Inspiration: Pops of Color


... do it! Notice how the walls are white, the woodwork is white, and the couch is white. If you start with a neutral base, it's so easy to add in color (and to switch up the color if you suddenly decide you're sick of red and want a blue room instead).

April 9, 2011

Inspiration: Open Shelving

We've got 30 cabinet doors in our kitchen (I know because I painted them all with multiple coats in 2009- ugg!). That's a lot! I love the idea of taking a couple of them off to mix things up a bit. Here's what others have done:


The work load is minimal: pop off the door, fill in the hinge holes with dry wall repair, sand, and touch up with paint. If you've got wooden cabinets, just leave the holes or find a matching wood filler.

April 6, 2011

Gallery Wall @ the Inspired Room

I've added my gallery wall photos to The Inspired Room's linky party- go check out all of the other photos for more gallery wall ideas!

FYI: A linky party is basically a massive compilation of blog links on a specific subject all in one place. Usually a blogger invites other bloggers to post pictures of a specific thing (like gallery wall photos) on her blog. It's a great way to get a ton of ideas on a specific theme (ie: spring decor linky parties, easy crock pot dinner linky parties, etc.).

Enjoy!

January 10, 2011

Photoshop Decor Mock-up

Thought I'd share a quick "decorating" tip that I use frequently. Sometimes I have an idea of some kind of house project that I'd like to do, but am unsure about the results (ie. would that room look good with an accent wall? would a bench or console table look better in the entry way? would hanging curtains in the basement look weird if the couch can't be centered under them?) The hard way of answering these questions is to paint the accent wall, buy the console table, or hang the curtains only to realize that actually you don't like the end result. Trying out different options until they fit (even if the items can be returned!) wastes time and money.

I've started using a better solution- mock up a virtual photo of your idea in Photoshop. Here's how:
  • Take a picture of the room you're working with, and upload it into Photoshop. Try to take photos from a couple of different angles.
  • If you're curious as to how a new piece of furniture, a lamp, or certain accessories would work in that space, find a similar picture of what you're looking for online. Copy and paste that picture into a new Photoshop document, and use the magnetic lasso tool to select only the item you're considering in that image. Then cut that image, paste it into your room photo, and drag it to size. Place it where you want in the room.
  • For an accent wall (or different wall color), just select each wall and fill it in with that color. This obviously won't give you an exact idea, but it can help.
  • If you're trying to decide between a couple of different things in the same space (ie. which style lamp would look best on an end table) put them all into your room photo on different layers, but in the same place. You can then turn on and off layer visibility for a "quick change" of lamp style to see which you like best.
Sorry for all of the Photoshop lingo. I'm sure this works with other editing software. This is the mock up that I made for our bedroom in July. At this point, we had different lamps and no frames above the bed. I tried a couple of different combinations, and liked this best.


As I posted earlier, I've come pretty close to the mock up. I'd love find a bench, but no need to rush:) Here it is again:


This corner is empty in our room currently, but here's what I'm going for eventually:


I know that's a really crappy job of mocking up the photo, but it gives a good general idea. Hope this helps!

November 30, 2010

Easy Christmas Decor Ideas


The Christmas season has officially arrived at our house. I thought I'd share a few quick (and inexpensive) decor ideas with you all. The first are these lovely footed hurricanes. Aren't they cute? I can't take credit from the idea, I've seen pictures of them posted all over DIY blogs. They cost $2.00 a piece. Yes, that is correct, $2.00! I made three for a whopping six bucks :) I found the vase and candle stick stem at my local dollar store, and just hot glued them together. How easy is that? Here's the whole centerpiece:


Recognize my burlap table runner from the previous post? My mom bought me the garland from a florist shop on sale after Christmas. I LOVE it- it's so realistic looking.

This year, I was also inspired to decorate using silver and gold ornaments after reading this link from Bower Power. I need to take add more pictures of the ornaments sprinkled around the house, but here's a couple.


Why yes, I do have ornaments on top of our toilet. Another plug for the dollar store- buy your ornaments there! I bought a couple boxes of silver and gold ones for a dollar a piece (obviously:) .

On another note, Leo struck again:


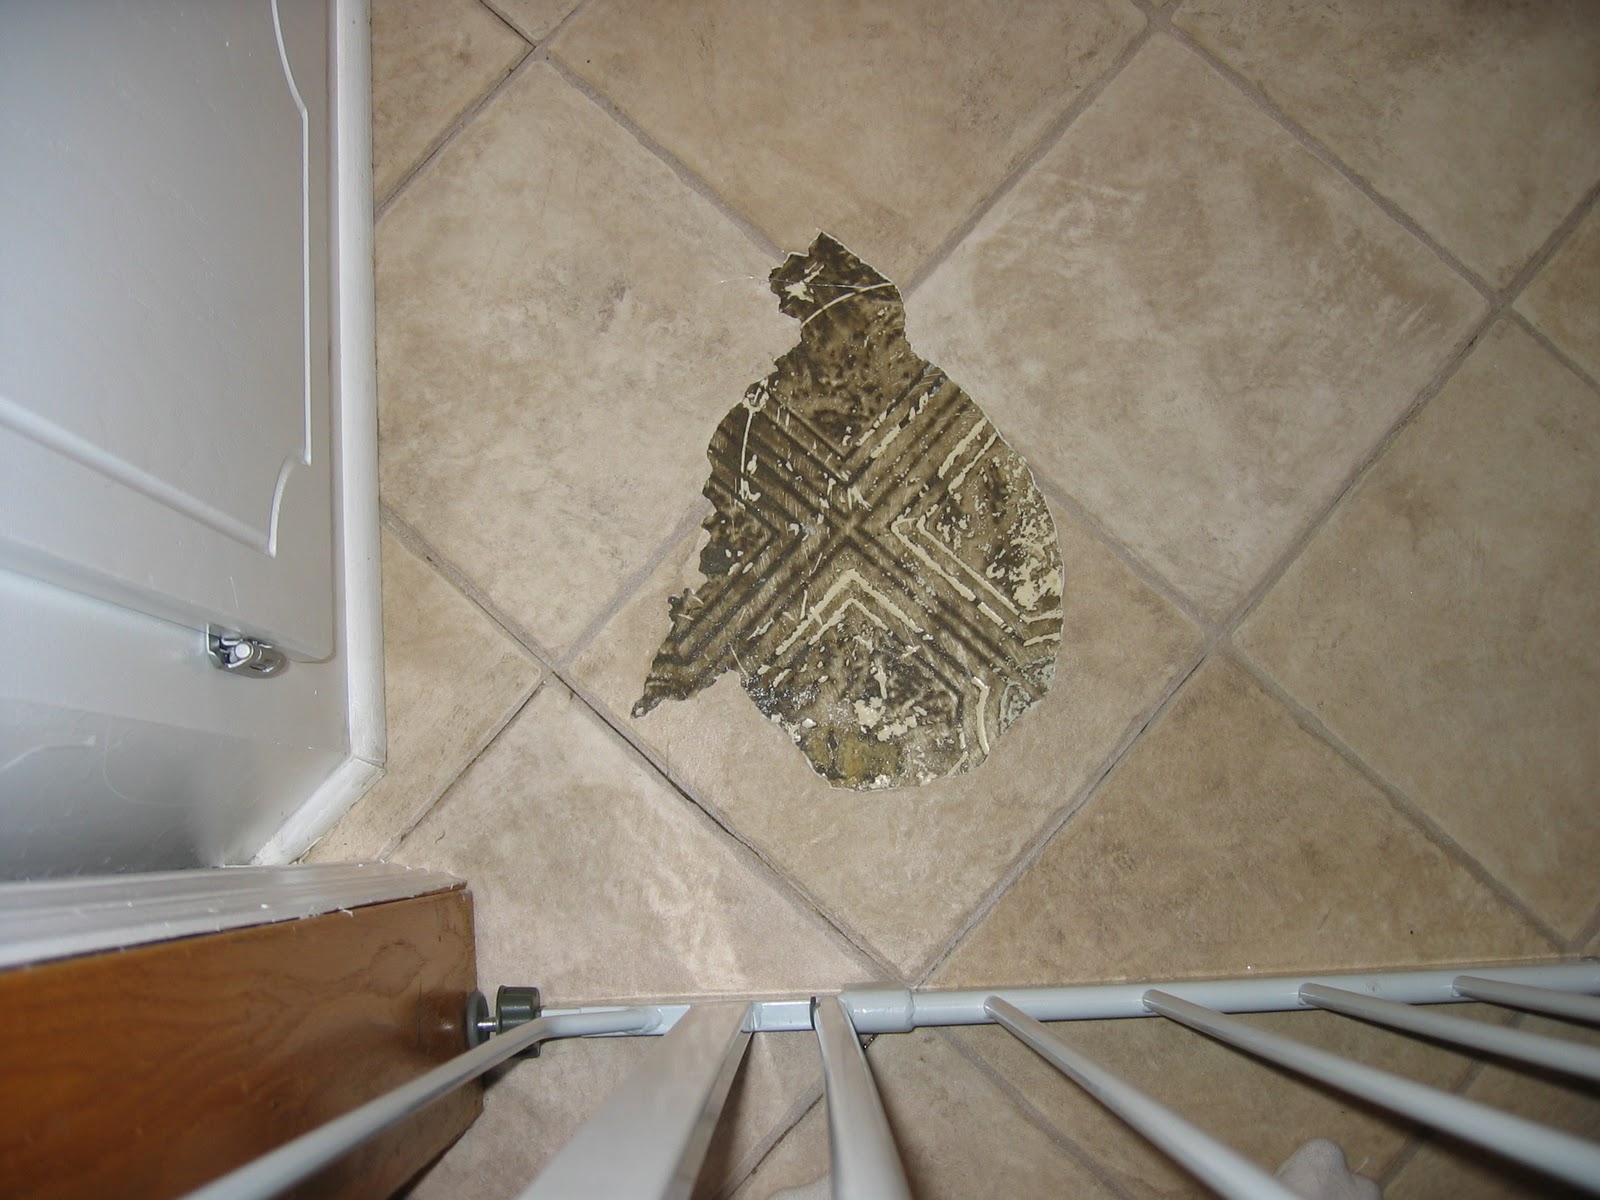
Grrrrr. This post could also be titled "Pre-Patch Job #2."

Enjoy inexpensively decorating for Christmas!

November 19, 2010

A little styling tip...


Our nightstands have, unfortunately, been neglected since we purchased them last January. Not in the sense of care and cleaning, but in the sense of decor. As type A as I am when it comes to having things look "just so", for whatever reason our bedroom has been a tad bit overlooked. (We've still got frames hung on the wall with the DEFAULT artwork in them, can you believe it? :) I'm just too indecisive. Anyway, this week I've decided enough is enough, I need to do something about those nightstands. There's been an odd mishmash of frames, stacked books, etc. sitting there looking forlorn for too long. Ugg.

I spent 30 minutes or so browsing through the Pottery Barn website this afternoon soaking in nightstand decor styling tips. I went from having no real idea of what I wanted to do with our nightstand to have too MANY ideas of what might look great! Some details from my preliminary pass:


So here's my tip: if you're looking for decor inspiration, find the corresponding "section" of the PB website and start browsing. I searched through almost all of the pictures of nightstands that they've got on the website, not looking at the nightstand itself, but what was on top of it. How do they place their bedside lamp? How many picture frames are on top? Are there any unusual items that could look neat on a nightstand that I'm not thinking of? Are there any connecting themes to this decor? If you want living room inspiration, look at their couches or coffee tables. If you need a kitchen color scheme, look up kitchen tables. You get my drift.

Those PB stylists are just so talented, we could all use a few pointers from them :) Happy styling!

September 28, 2010

Inexpensive Changes for High Impact

Unless you’re professionally redecorating or buying furniture, a big visual change in a room can be achieved relatively inexpensively. Here’s some low budget yet big impact changes that are easy:
  • Paint! It is by far the easiest, biggest, quickest, and often cheapest change that you can make in a room.
    • I use Behr Premium Plus Ultra paint (it has the primer already built in, saving time and money). It’s a little more expensive up front, but you save time and money in the long run.
    • Don’t be afraid of using a bold color- if used properly it can be the focal point of the room and add drama and interest. If the color doesn’t work, the worst case scenario is you have to buy another gallon of paint.
    • Paint the woodwork. White trim, baseboards, and cabinets are popular right now, and most likely will be for a long time since the look is so classic. If you don’t like the color of your wood (or the shape that it’s in!) painting the woodwork immediately updates a space. Make sure to use an oil based primer, or the stain bleeds through.
    • Paint a piece of wood furniture. It’s amazing how a coat of white or black (or another color!) of paint can update a wooden piece. Look for pieces that have “good bones” or a classic shape and details.
  • Hang your pictures. Bare walls tend to look unfinished and unpolished, so try grouping frames together on a wall to create a gallery as a focal point. Some tips:
    • Use all the same frames (ie. black frames with white mats) for a cohesive look
    • Use different frames, but have a theme for the pictures (ie. black and white photos, old family pictures)
    • Fit the frame (or the group of frames) to the space. A small picture frame will look out of place on an expansive wall, but a large picture frame or a grouping of pictures will fill up the space much better. The opposite applies with a small space.
    • Change up your artwork. Switching out art and pictures from wall frames is an easy and cheap update.
  • Create or utilize a focal point. If you’re lucky enough to have one in your room, play it up! Windows and fire places are great ones. Photo galleries and wall art can work too.
  • Change up the curtains. This can make a huge impact in a room! Curtains are an inexpensive way to add color, texture, and softness to a room. JCPennys has a big window coverings department with a lot of reasonably priced options. If you’re looking for something even cheaper, Burlington Coat Factory has curtain panels for $7.99 each.
  • Consider lighting. It can change the mood of a room and create the look of either more of less space (which ever you’re going for). Add in a new lamp, or add in puck lights to highlight spaces or for task lighting (ie. my husband put them under our kitchen cabinets and also in a bookcase to showcase a picture gallery).
  • Change the furniture arrangement. By far the cheapest option:)
  • Add accessories. This is one of the biggest changes that you can make that makes the room look finished.If you want to change the look or mood of a room quickly without the mess of paint, changing the accessories works well. Some ideas:
    • Pillar candles
    • Woven baskets
    • Throw pillows
    • Stacks of books
    • Picture frames
    • Fresh flowers
    • Wall mirror
    • New curtains
    • Update table and floor lamps
That’s it, happy decorating!