November 30, 2010

Easy Christmas Decor Ideas


The Christmas season has officially arrived at our house. I thought I'd share a few quick (and inexpensive) decor ideas with you all. The first are these lovely footed hurricanes. Aren't they cute? I can't take credit from the idea, I've seen pictures of them posted all over DIY blogs. They cost $2.00 a piece. Yes, that is correct, $2.00! I made three for a whopping six bucks :) I found the vase and candle stick stem at my local dollar store, and just hot glued them together. How easy is that? Here's the whole centerpiece:


Recognize my burlap table runner from the previous post? My mom bought me the garland from a florist shop on sale after Christmas. I LOVE it- it's so realistic looking.

This year, I was also inspired to decorate using silver and gold ornaments after reading this link from Bower Power. I need to take add more pictures of the ornaments sprinkled around the house, but here's a couple.


Why yes, I do have ornaments on top of our toilet. Another plug for the dollar store- buy your ornaments there! I bought a couple boxes of silver and gold ones for a dollar a piece (obviously:) .

On another note, Leo struck again:


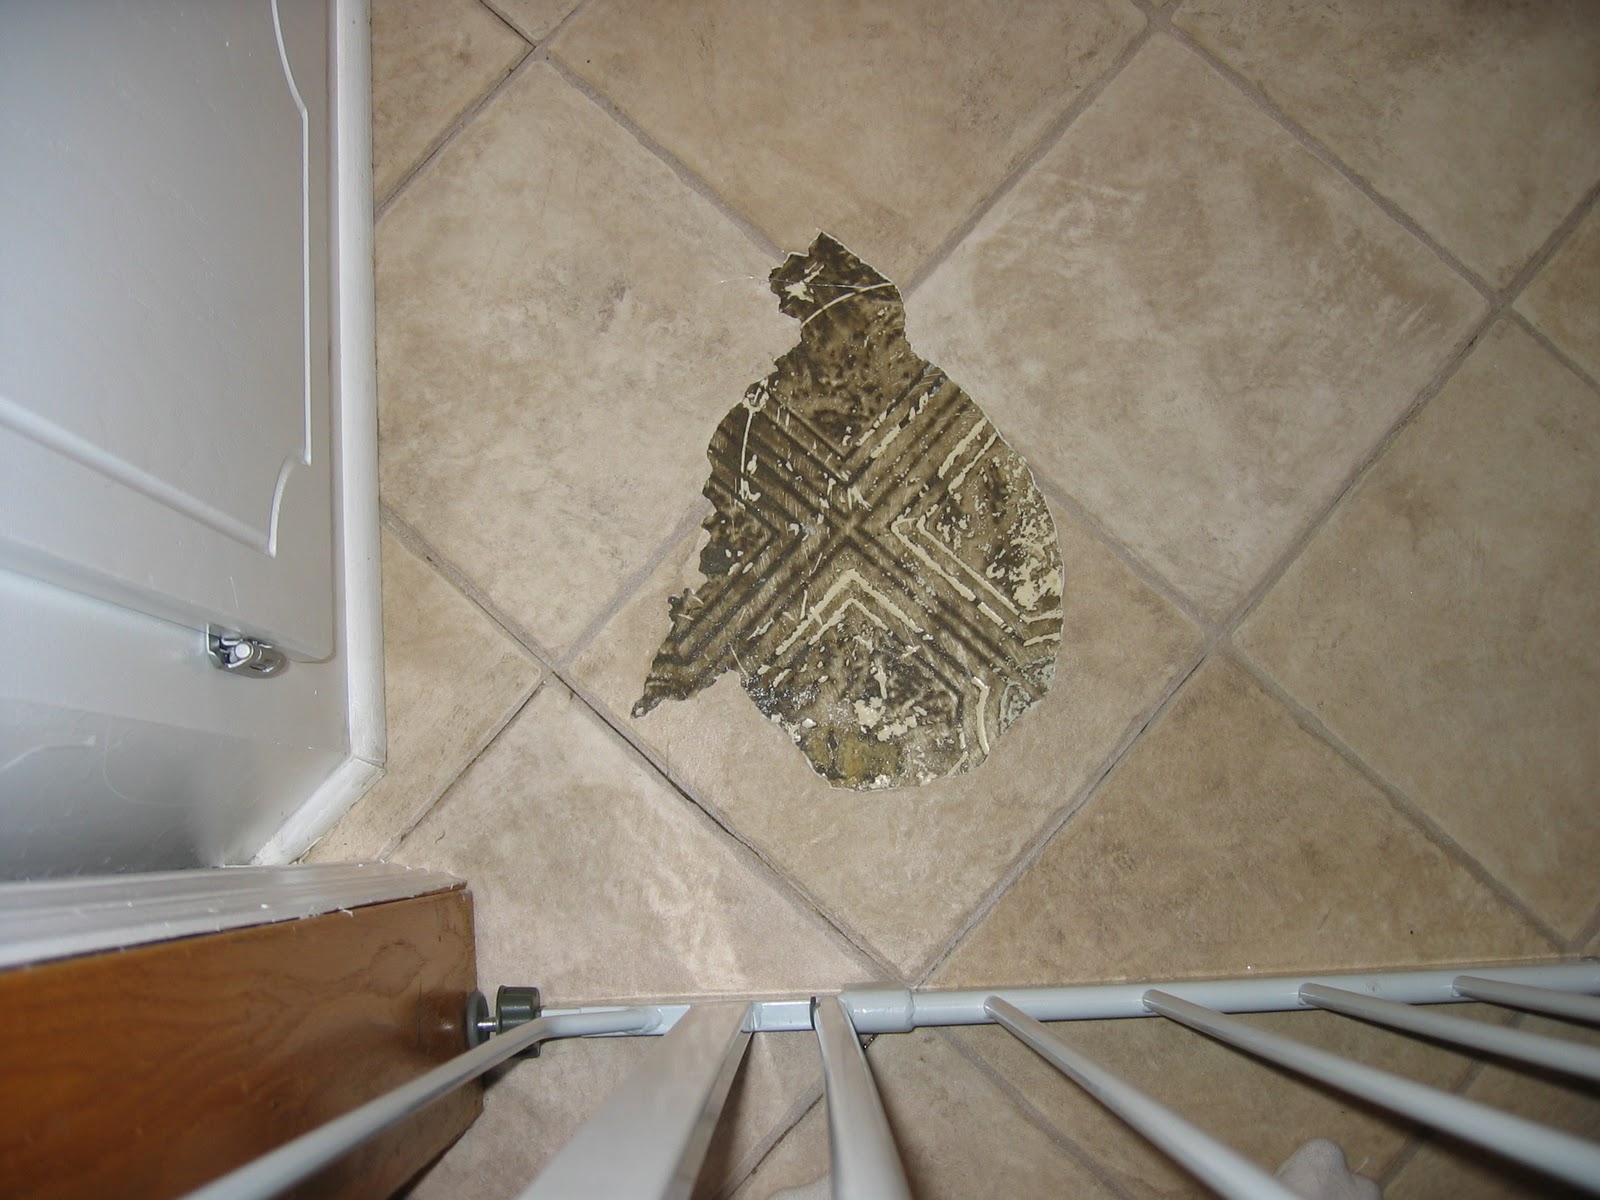
Grrrrr. This post could also be titled "Pre-Patch Job #2."

Enjoy inexpensively decorating for Christmas!

November 19, 2010

A little styling tip...


Our nightstands have, unfortunately, been neglected since we purchased them last January. Not in the sense of care and cleaning, but in the sense of decor. As type A as I am when it comes to having things look "just so", for whatever reason our bedroom has been a tad bit overlooked. (We've still got frames hung on the wall with the DEFAULT artwork in them, can you believe it? :) I'm just too indecisive. Anyway, this week I've decided enough is enough, I need to do something about those nightstands. There's been an odd mishmash of frames, stacked books, etc. sitting there looking forlorn for too long. Ugg.

I spent 30 minutes or so browsing through the Pottery Barn website this afternoon soaking in nightstand decor styling tips. I went from having no real idea of what I wanted to do with our nightstand to have too MANY ideas of what might look great! Some details from my preliminary pass:


So here's my tip: if you're looking for decor inspiration, find the corresponding "section" of the PB website and start browsing. I searched through almost all of the pictures of nightstands that they've got on the website, not looking at the nightstand itself, but what was on top of it. How do they place their bedside lamp? How many picture frames are on top? Are there any unusual items that could look neat on a nightstand that I'm not thinking of? Are there any connecting themes to this decor? If you want living room inspiration, look at their couches or coffee tables. If you need a kitchen color scheme, look up kitchen tables. You get my drift.

Those PB stylists are just so talented, we could all use a few pointers from them :) Happy styling!

November 13, 2010

Burlap Table Runner


Hi All- it's looking like Christmas up in my neck of the woods this morning with all of the snow. I was immediately inspired to bust out the Christmas garland and replace my pumpkin spice candles with pine bough scented ones, but it's still almost two weeks til Thanksgiving. "Drat", I thought, as Toad would say. So in the spirit of Christmas decorating, I thought I'd share a project I completed this summer.

As most of my ideas go, I saw this table runner at Pottery Barn and LOVED it. But didn't love it enough to pay $30 for it. Really that's not spendy, I know, but I error on the cheap side when it comes to decorating- especially accessorizing. I figured I could make a similar looking one for a lot less. Here's the original:


Cute, huh? I still haven't gotten around to making second runner that goes below the burlap one, but all in due time. Here's what you need:
  • Burlap (I used 3 yards to make a 90" runner, but you can custom yours to whatever length you need to fit your table)
  • Sewing glue (like Unique Stitch or Stitch Witchery)
  • An iron
If you can glue, this runner is for you. Figure out how long and how wide you want your runner (mine is 90" long by 12" wide) and then added a 3/4" hem on each side. So before being hemmed, my runner was 91.5" by 13.5". Next, iron the 3/4" hem on each side of the fabric. Try to get as crisp of a edge as you can- this will help when you glue. Which is the last step (and the easiest!) Glue each hem using a bit more glue than you think you might need. I had to go back and add more since some of the glue just seeped through the burlap threads. Let it dry, and you're done!


I actually had planned on sewing the hem around the edges, but it wouldn't have held. Glue was a lot quicker, and worked better anyway. This project cost me a grand total of $4.50. The burlap was $3 per yard and I had a 50% off coupon. The greatest thing about this runner is it's versatile with any season of decor- who doesn't love some great, nubby textured burlap? :)