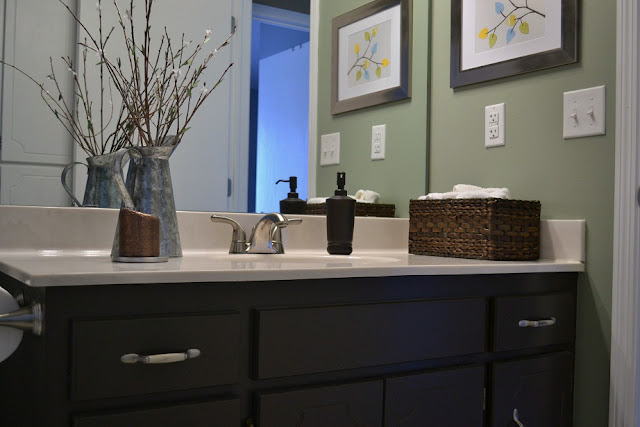
When I painted the main bathroom last spring, I intended to sand and re-stain the vanity a dark espresso color. That never happened. I don't know why, but I'm intimidated by stain- it might have something to do with the fact that I've never done it, and am more comfortable with paint. With that said, I found some inspiration to darken our vanity on one of my favorite blogs.
I'm supposed to be priming and painting the trim in our hallway this week. We're painting all of the woodwork in the main open area of our house white this spring (since the $2400 quote had our jaws dropping). This project feels rather daunting, so what better way to procrastinate than by doing other, much simpler and less time consuming (and instantly gratifying:), house projects. A can of paint later, bada bing bada boom and the vanity is done.
(I updated the full-on shot... that's why the accesories are different:)
Like I said earlier, we're eventually planning on re-doing this bathroom. However, that project seems like one of those that is always assumed, but never actually comes to fruition. We'll see. The dark brown paint (Betsy Ross House Brown by Valspar- I completely copied Centsational Girl's paint choice. Imitation is the best form of flattery?) makes the vanity look more furniture like. I'm also liking the creamy marble-ish looking counter better. Contrast is a good thing. This project took a couple of hours (spread over three days), and cost $15. Not too bad. Here's what you need:- Paint with some type of glossy finish (anything from satin on)
- Oil-based primer (Zinsser works wonderfully!)
- Painters tape
- Old rags
- Fine grit sanding block
- Dry wall repair
Now prime away. Once the primer is dry, add your first coat of paint. I'll admit I picked the wrong color at first (it looked more brownish green in our bathroom than brown) but tried to have an "I already spend the money on this paint and it's good enough" attitude. Thankfully my husband persuaded me to spend the extra $15 bucks and 60 minutes to rectify this. He' gives good advise.
Depending on your quality of paint, you'll probably only need two coats. Let the doors and vanity frame dry, reassemble, and voilà! New vanity.
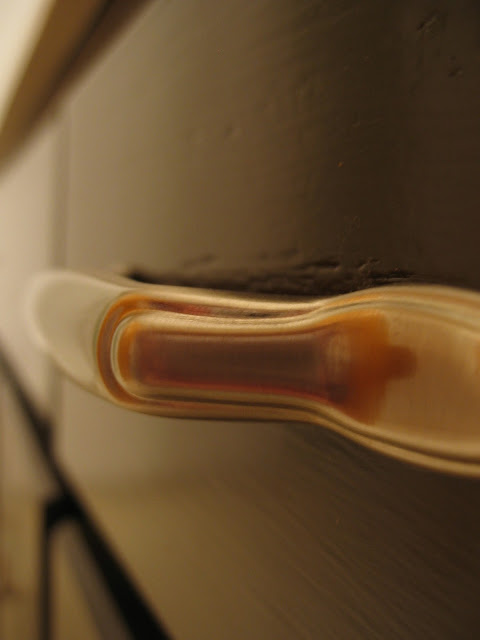
Much better. Can you believe we stuck with this icky orange wood for so long?


This looks so beautiful and chic!!!
ReplyDeleteIs the vanity entirely real wood or does it have particle board?
ReplyDeleteHello! I'm pretty sure it's real wood. However, you should be able to paint particle board, too.
ReplyDeleteWhat is the name of the wall color I love it> It is very North West
ReplyDelete