
I sewed this blanket for Charlie for Valentine's Day. It had been six years since I made him one, and it was high time for another! I used this photo as inspiration, but made mine completely differently.
Here's a shot of the entire thing:

Isn't it cute? It was fairly simple to make. Here's what you need to make a 60" x 90" blanket:
- 5 yards of yellow polar fleece
- 2 1/2 yards of white polar fleece
- Small ball of teal yarn
- Yellow thread
- Large eyed needle (one that the yarn will fit through)
- Sewing machine, scissors, pins, etc.
To make a template, I figured I wanted my blanket to have three diamonds width wise and height wise. For a 60" x 90" blanket, each diamond was 20 inches wide by 30 inches tall. Simple math is always a smart choice while sewing.
I cut my diamond template out of paper, and then followed it to cut out 9 yellow diamonds from the yellow. For the white, I needed 4 whole white diamonds, 4 half diamonds cut width wise (or the hamburger way if this language was used in your elementary school:), 4 half diamonds cut height wise (the hot dog way), and 4 quarters of diamonds. Just look at the large picture above if this sounds confusing. For the backside of the blanket, cut out a 60" x 90" piece of yellow.
I thought the easiest way to sew all the diamonds together would be to sew them in strips, like so:

Make sense? When all the strips were sewn, then I sewed the strips together. This part went pretty quickly. Here's what it should look like (mine is folded in half):

Now comes the putzy part. I laid my blanket out and sewed on the yarn. This is the part that gives it the most "argyle-ly" feel. The stitches should be in a straight line and should intersect in the middle of each diamond. (As you can see, mine didn't always land perfectly:)

This part would probably be easy with the right equipment. Between the size of the needle eye and the bulk of the yarn, I had to pull each stinking stitch through the fabric with a pliers. That's right. EACH STITCH. I needed the grip of the needle nose to simple pull it all through the polar fleece. So I'm game to hear if any of you have a better suggestion, because I'll take it.
Needless to say, this part was a bit time consuming. But it looked great in the end! When I'd finished the stitching, I pinned the argyle side and the plain side together (inside out, of course), sewed them together, flipped it the right way out, and finished the last foot by hand.

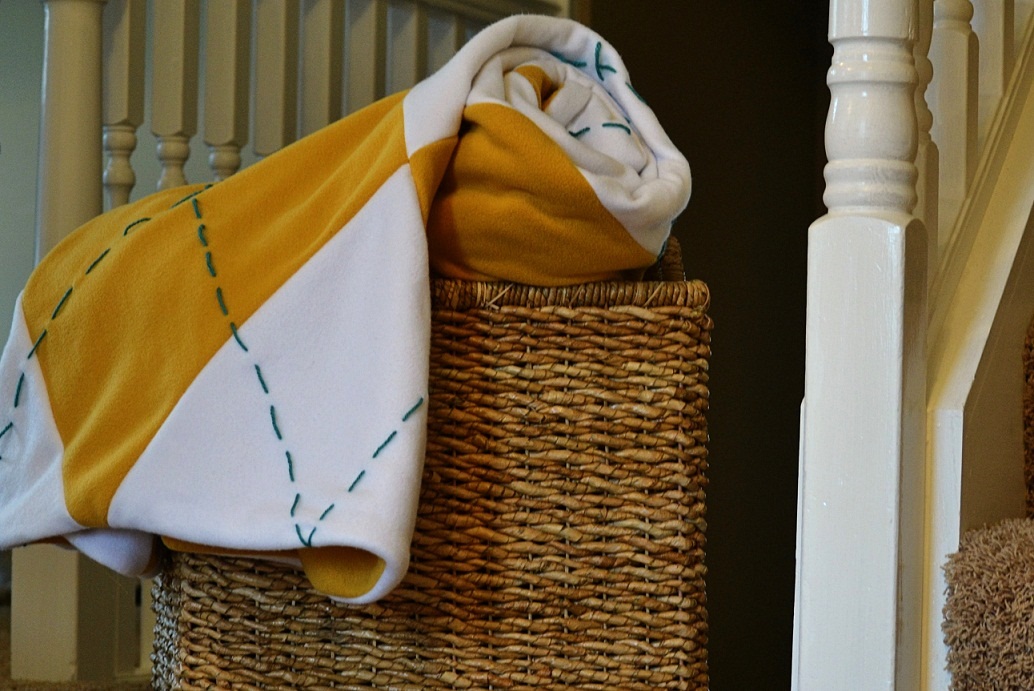
And once again, here she is in action:

No comments:
Post a Comment
Note: Only a member of this blog may post a comment.